
Project guide
River Rock Dry Creek Bed Ideas for Yard Drainage
A dry creek bed is a shallow channel lined with stone that looks like a streambed and carries storm water across a yard. Most of the year it is a garden feature. In a heavy rain it moves water from a downspout or a soggy low spot to a place where it can soak in or drain away. River Rock is the natural stone for the job. This guide covers the layout, the depth and the tonnage.
Why River Rock works for a dry creek bed
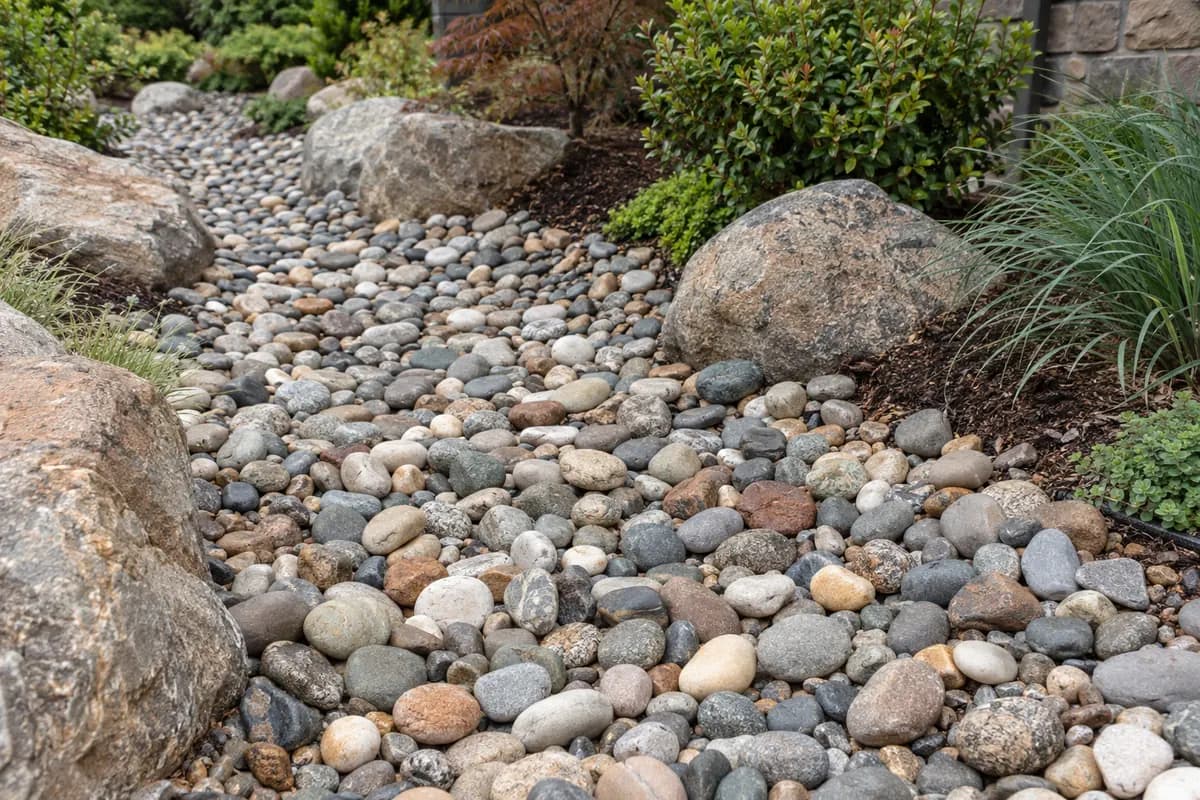
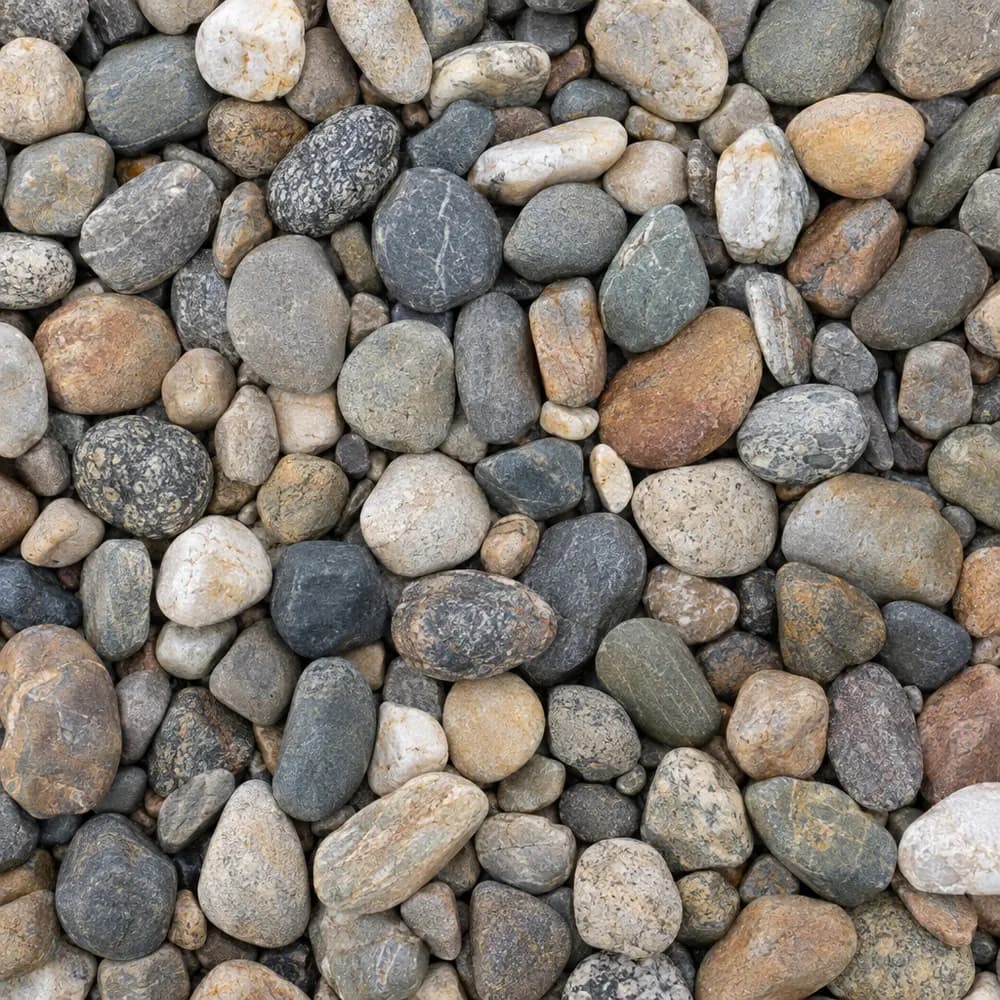
Real streambeds are lined with stones rounded by moving water, and River Rock is exactly that kind of stone. Pieces from 1 to 3 inches look at home in a channel, so the creek reads as part of the land rather than a ditch.[1]
Moving water needs heavy stone. At about 2,600 lb per cubic yard, River Rock stays in the channel when a storm sends a rush of water down it. Small pebbles and mulch float or roll downstream and pile up at the first bend.[1]
The gaps between rounded stones slow the water and let part of it soak into the soil under the channel. A creek lined with River Rock drains the yard without sending a fast, muddy stream to the far end.[1]
Mixed earth tones look right in a creek. Browns, tans and grays together resemble the gravel bar of a real stream, and the stones look darker and richer when wet, which makes the creek a feature after every rain.[1]
Design and sizing choices for a dry creek bed
Let the creek follow the land. Start where the water collects, such as the end of a downspout or the lowest corner of a patio, and follow the natural fall of the yard to the outlet. Gentle curves look more natural than a straight line, and wider spots at bends look like the pools of a real creek.[1]
Vary the stone sizes. Use the larger stones near 3 inches along the banks and at bends, where water pushes hardest. Fill the center of the channel with a mix across the full 1 to 3 inch range. A few boulders set along the edges, partly buried, break up the line and anchor the banks.[1]
Make the channel wider than it is deep. A creek about two or three times as wide as its depth looks natural and spreads water so it moves slowly. A narrow, deep cut looks like a trench and carries water too fast.[1]
Plan the outlet before anything else. Water has to leave the creek somewhere: a rain garden, a dry well, a lower part of the property or a drainage ditch. A creek that ends against a fence or a neighbor's lot only moves the problem.[1]
Planting finishes the look. Grasses, sedges and low shrubs along the banks hide the edges of the fabric and hold the soil. Pea Gravel can fill the spaces between larger stones in a shallow section, adding a second texture in a similar earth tone.[1]
Depth, base and quantity for a dry creek bed
Dig the channel as a shallow, dish-shaped trench, deepest along the center line. Line it with woven landscape fabric so soil does not wash up between the stones, and so the stones do not sink into mud after every storm.[1]
Cover the fabric with at least 3 inches of River Rock across the whole channel. That takes about 1.20 tons for every 100 square feet of creek floor. Measure the width of the channel across its curve, not straight across the top.[1]
Where water enters the creek and at bends, lay the stone deeper. A 4 inch layer takes about 1.60 tons per 100 square feet and stands up to the force of water from a downspout.[1]
At the outlet, a pit filled 6 inches or deeper with stone gives water a place to spread and soak in. That part takes about 2.41 tons per 100 square feet.[1]
Thin areas of 2 inches, about 0.80 tons per 100 square feet, suit only the dry banks where stone spreads out of the channel for looks. River Rock is sold by the ton. Measure each part of the creek, apply its depth and add them together, then round up.[1]
Installation steps
Mark the path of the creek on the ground with a garden hose or spray paint, and walk the line during a rain if you can to see where the water goes. Call your local utility marking service before you dig.[1]
Dig the channel, keeping a steady fall from start to finish so water does not collect in low spots. Pile the dug soil along the banks and shape it into gentle mounds that frame the creek.[1]
Lay fabric in the channel and up both banks, with seams overlapped and pinned. At the inlet, set a splash pad of large flat stones so falling water does not dig a hole.[1]
Place the boulders and the largest stones first, along the banks and at bends. Then fill the channel with River Rock, raking it so the center sits lowest. Spread a scattering of stone across the banks to blend the creek into the yard.[1]
Run a hose down the channel to test the flow and rinse the stones. Watch where water slows or spills over the banks, and adjust stones before planting the edges.[1]
Maintenance and common mistakes
Building the creek with no fall is the most common error. Water sits in the channel and the creek becomes a mosquito pond. Check the grade with a level before laying stone.[1]
Skipping the fabric is the next. Without it, soil washes into the stone and weeds sprout between the rocks within a year.[1]
Using only one size of stone makes the creek look like a pile of gravel. Mix sizes and add a few large anchor stones.[1]
Lining the channel with light stone is a quieter mistake. Small pebbles look fine on a calm day, but the first hard storm carries them downstream and bares the fabric. Heavy River Rock, at about 2,600 lb per cubic yard, holds its place where lighter stone moves.[1]
Once built, a dry creek bed needs little care. Clear leaves and sticks after storms so they do not dam the flow, pull weeds while small and reset any stones that a big storm has moved.[1]
Cost and ordering
River Rock is sold by the ton and arrives by dump truck. The delivered total depends on the tonnage, the distance from the supplying yard and how close the truck can tip to the start of the creek.[1]
Length and width drive the order. A long, wide creek uses many tons, so sketch the route and measure each section before ordering. Boulders and edging stone are a separate item and add weight to the plan.[1]
Plan the drop spot near the creek. Moving several tons of stone across a lawn by wheelbarrow is slow and leaves ruts, so choose a spot the truck can reach that is close to the work.[1]
Enter your ZIP in the box on the site to see the delivered figure for River Rock, then use the calculator with the area of your creek to check the tonnage.[1]
Delivered, 2 tons: from $458 to $1,374 depending on the city (366 cities priced). Enter your ZIP for the exact figure.
River Rock for this project
How much river rock do you need?
Measure the area, pick the depth for this project, and the calculator converts it to cubic yards and tons for your delivered price.
Projects
Related project guides
Browse
Browse more
Frequently Asked Questions
What size river rock is best for a dry creek bed?
A mix across the full 1 to 3 inch range looks the most natural. Use the larger stones on the banks and at bends where water pushes hardest, and the full mix along the floor of the channel. A few bigger boulders along the edges make the creek look real.
How deep should a dry creek bed be?
Most yard creeks are shallow and wide, with the channel a few times wider than its depth. Lay at least 3 inches of River Rock over fabric, which takes about 1.20 tons per 100 square feet, and go deeper at the inlet, at bends and at the outlet.
Do I need landscape fabric under a dry creek bed?
Yes. Fabric keeps soil from washing up between the stones, stops the stones from sinking into mud and slows weeds. Lay it across the channel and up both banks, overlap the seams and pin them down before placing any stone.
Where should a dry creek bed drain to?
The creek needs a safe outlet such as a rain garden, a stone-filled dry well, a lower part of your own property or an existing ditch. Never aim it at a neighbor's lot or a building. Plan the outlet first and route the channel to it.
Will a dry creek bed stop my yard from flooding?
A well-built creek carries water from a downspout or a low spot to an outlet, which keeps puddles and mud off lawns and patios. It cannot handle water the outlet has no room for, so size the outlet for the water you expect, and fix overflowing gutters first.